Expert Tips for Building the Perfect Snowman Every Time

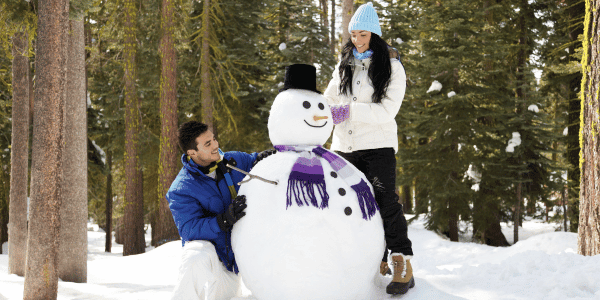
A good winter’s snow shouldn’t go to waste. Embrace the cold, spend some time outdoors, and stay active by partaking in the season’s most cherished activity: building a snowman.
An experience that evokes childlike joy, gather your friends and family to join in the fun! Building a snowman that’s cool, calm, and collected is easier than you might think, as long as you have the right tools, conditions, and weather. Read on to learn essential tips on how to build a good snowman and impress the neighborhood with your crafty snow-shaping techniques.
What You'll Need to Build a Snowman
The most important part of building a snowman is an abundance of snow. A key ingredient, snow should be wet and packable—easy to form into snowballs. Other crucial materials and tools for building a snowman include:
- Shovel: Shovels work best for scooping large amounts of snow at one time.
- Bucket of water: Moistens snow for easier shaping, and the bucket can double as a stylish hat—the classic finishing touch!
- Waterproof gloves: Keep your fingers from turning into icicles while packing snowballs.
- Coat: Dress for the season with a good winter coat.
- Carrot: The quintessential centerpiece, a carrot is a must for your snowman’s nose.
- Sticks: Use sticks or small branches to give the snowman arms.
- Rocks: Rocks, pebbles, and coal can all be used to create eyes, buttons, and other features.
- Decorative accessories: Add personality with items like sunglasses, old socks, a scarf, a funny hat, or a wig.
Best Snow for Snowman Building
The best snow for a snowman is slightly slushy snow. The moisture in the snow makes it easier to pack and form into snowballs. Dry, powdery snow is too light and challenging to work with. Keep an eye on your local temperature; when it reaches about 32 degrees Fahrenheit, you’ll have optimal conditions for the right amount of moisture and consistency.

Where to Build a Snowman
A large, flat area is the perfect location for snowman building. You should have plenty of space to roll large snowballs and enough snow to work with. If you don’t have easy access to an even surface in your front or back yard, consider a nearby soccer field, schoolyard, or park.
Whatever the destination, be sure to build your snowman in a shady spot. When placed in direct sunlight, he has the potential to melt faster than the time it took to build him!
Related: Winter Wanderlust: Top Vacation Spots for the Ultimate Seasonal Vacation
How to Make a Snowman: Steps to Build a Snowman
Step 1: Build the Snowman Base
- Use two hands to grab snow and form a ball.
- Continue to add snow until your snowball gets heavy.
- Roll the heavy snowball on the ground in different directions.
- Keep rolling the snowball until it’s about 2-3 feet wide.
- Leave the base in a shady spot where you’ll continue building.
Step 2: Add the Middle Section
The middle section of the snowman is at the core of its existence. It’s what makes or breaks your snowman. Be thoughtful and intentional as you create the middle section of the snowman. Similar to constructing the base:
- Roll a snowball in your hands until it’s large, but not as large as the base. If the base is 3 feet wide, make the middle section 2 feet wide.
- Flatten one side of the middle section and the top of the base.
- Lift the middle section and place it on the base, ensuring the flat surfaces align. The middle section will be heavy, so have a partner ready to lend a helping hand!
Step 3: Create the Head & Face
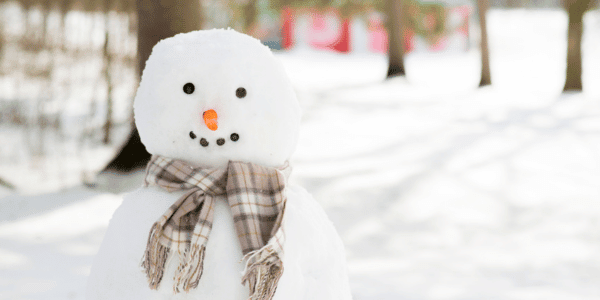
Finally, it’s time to arrange the snowman’s head. Form and position a 1-foot-wide snowball at the top of the snowman. Flatten the top section of the body and the bottom side of the head to secure a good, steady fit. Then, use rocks, pebbles, buttons, coal, and a carrot to give the snowman a nose, eyes, and mouth.

Ideas for Creative Snowman Decorations
Building a snowman isn’t all work and no play! Let your creativity run wild and decorate the snowman with items found around the house. Some snowman accessories you might have on hand include:
- Yarn
- Pipe cleaners
- Pom poms
- Bows
- Shoelaces
- Pinecones
- Candy canes
- Food coloring
- Chocolate chips
- Toilet paper rolls
- Paper towel rolls
Overloaded with craft supplies? Make gifts. Read “Usable, Crafty Gifts Kids Can Make at Home”
Looking for how to make a snowman unique? Give your snowman a name and make it into a character. Maybe it’s a celebrity lookalike, Hawaiian snowman, animal-themed, or cartoon. The options are endless!
Tips for Maintaining the Snowman Shape
To help your snowman stay in top shape longer, consider:
- Packing snow in between each section to hold it together.
- Freshening up the layers of snow in each ball.
- Keeping the snowman shaded as much as possible.
- Applying a mixture of flour and water to slow down the melting process.

Other Kid-Friendly Snow-Day Activities
Building a good snowman includes a lot of steps, like rolling the base layer, constructing the middle section, and creating the head. While getting out and playing in the snow may be great for a child’s well-being, it can be difficult for little hands to build a complete snowman. Check out “10 of the Best Activities To Do With Kids on a Snowy Day” to learn the best snow-day activities to keep kids focused, entertained, and active all day long.